
Weekly Art Tip 5 Simple Steps to Layer Your Animal Portrait
5 SIMPLE STEPS TO LAYER YOUR ANIMAL PORTRAIT


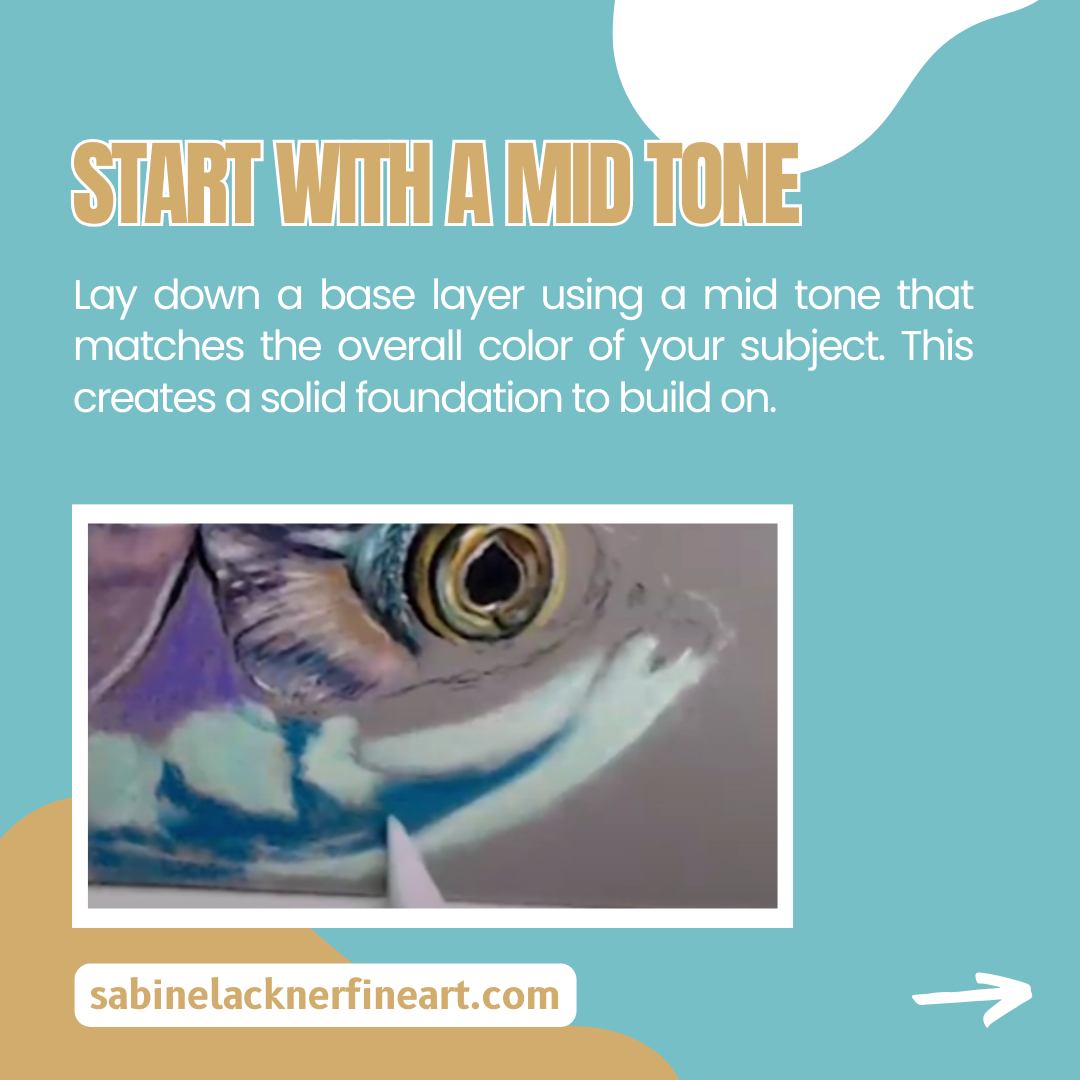
1. Start with a mid tone
Lay down a base layer using a mid tone that matches the overall color of your subject. This creates a solid foundation to build on.
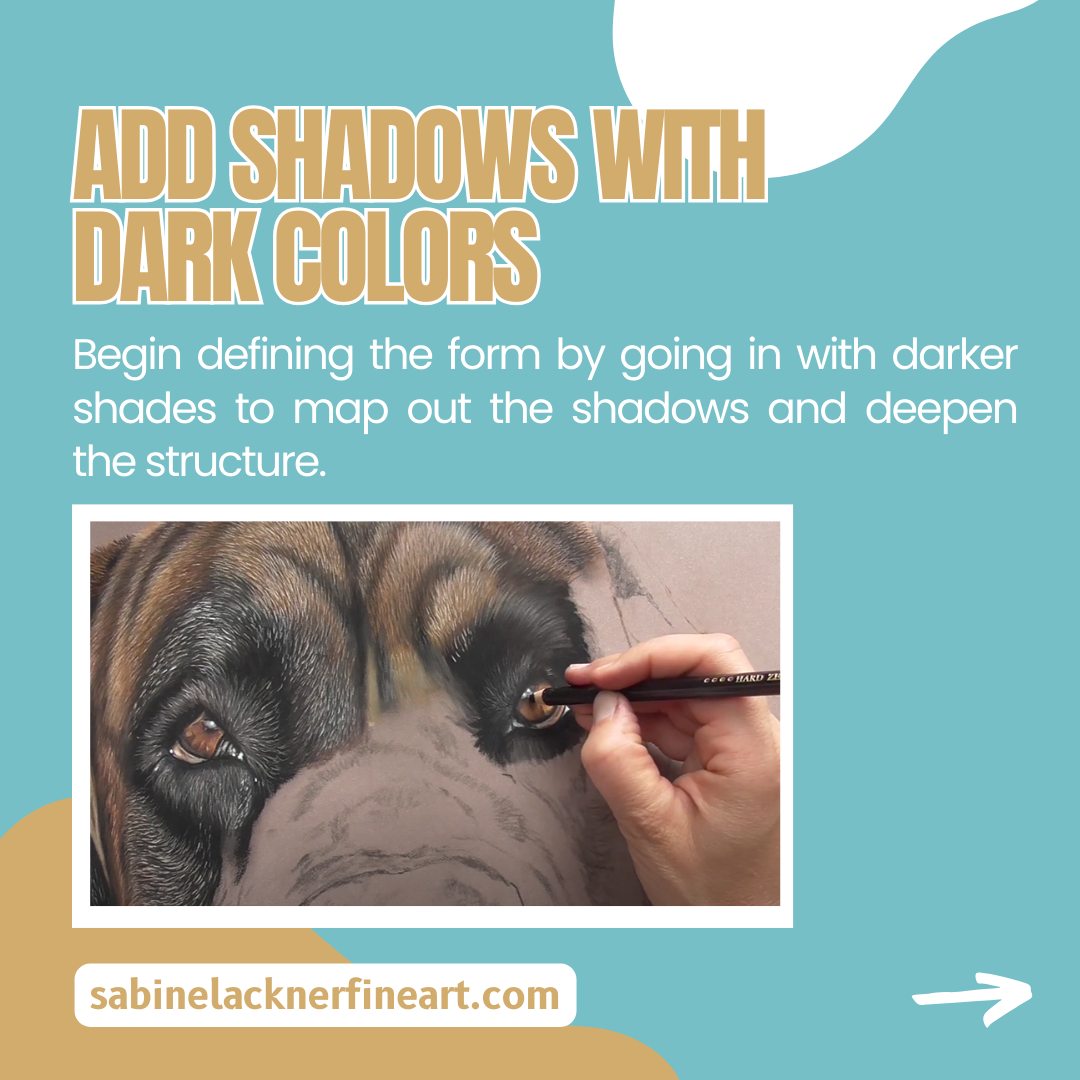
2. Add shadows with dark colors
Begin defining the form by going in with darker shades to map out the shadows and deepen the structure.
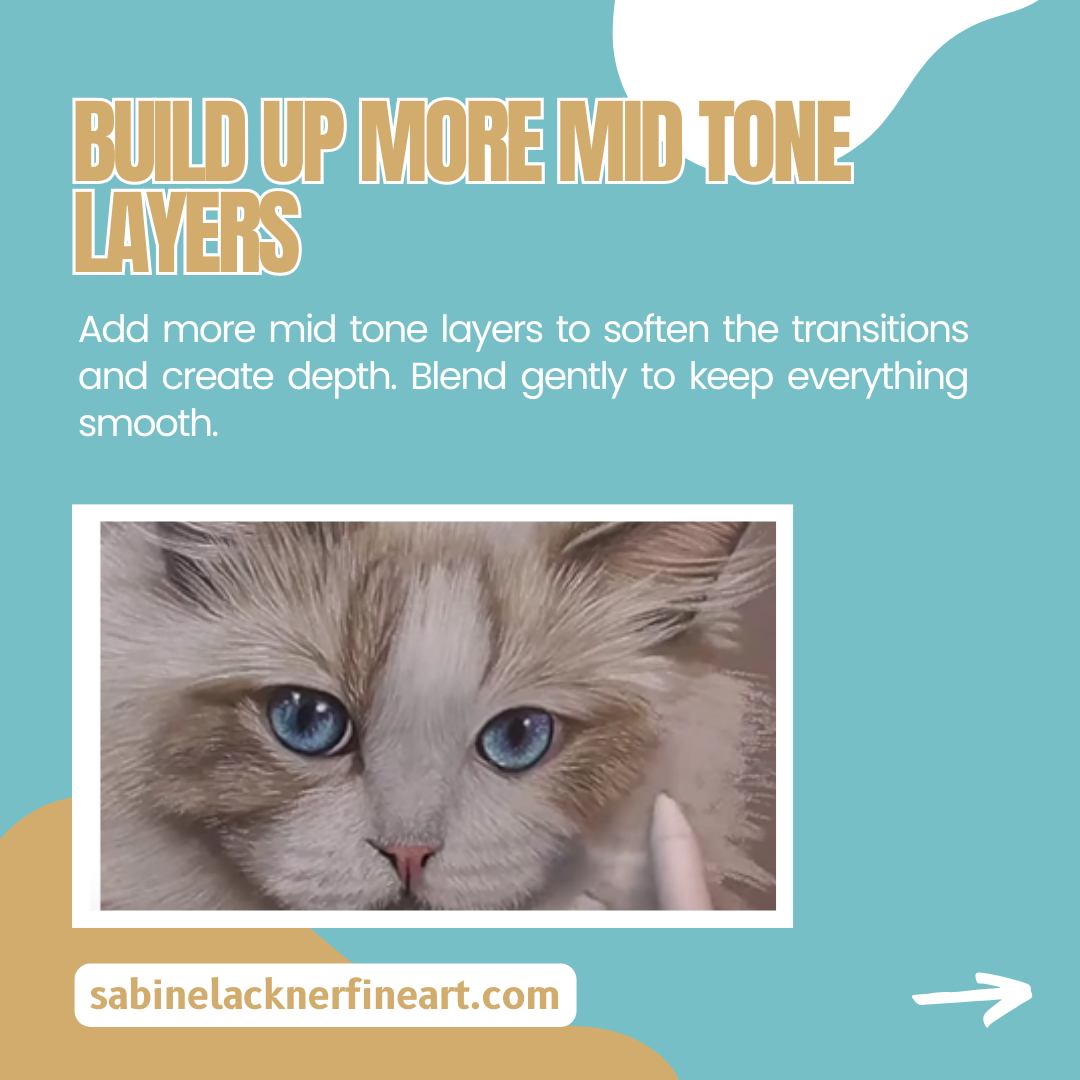
3. Build up more mid tone layers
Add more mid tone layers to soften the transitions and create depth. Blend gently to keep everything smooth.
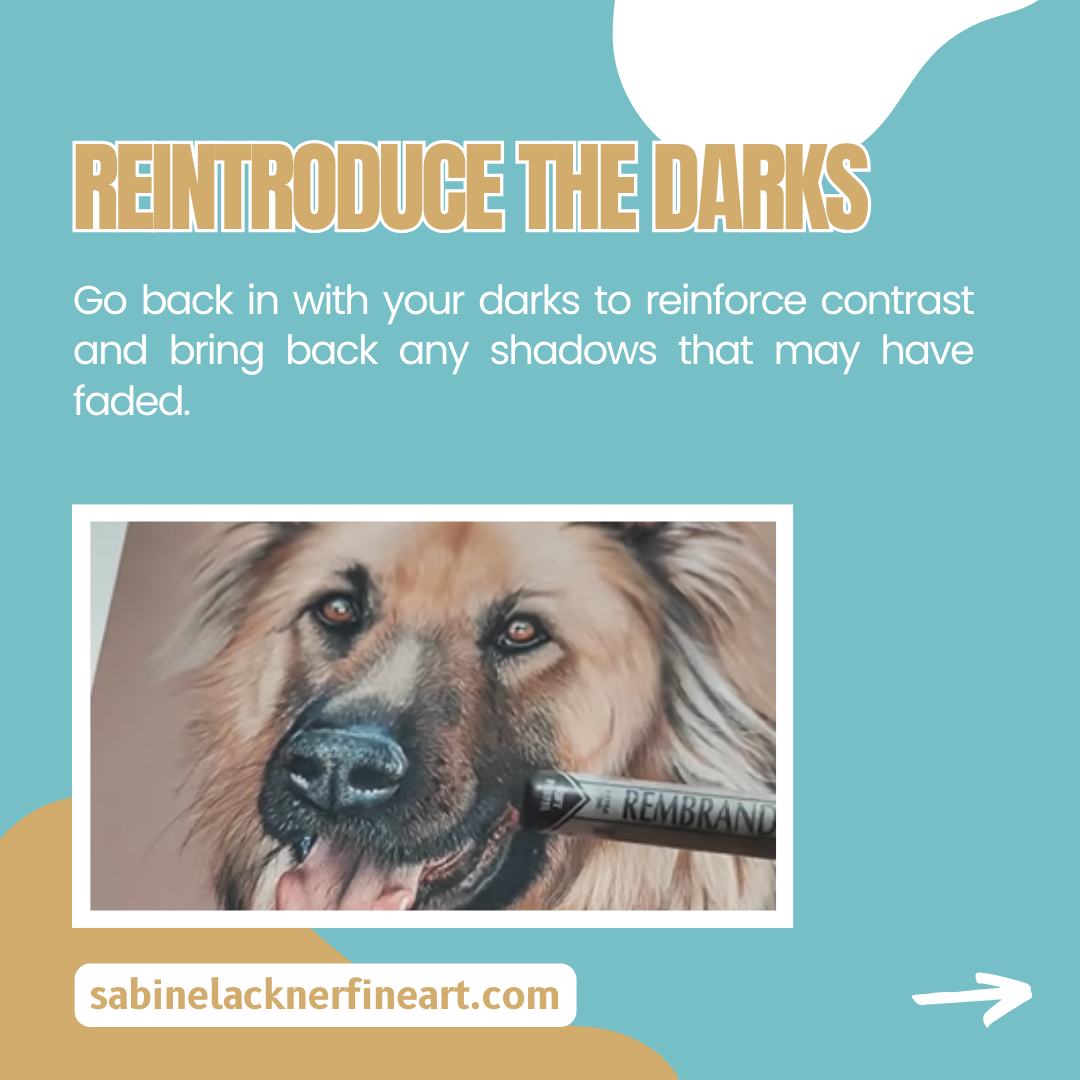
4. Reintroduce the Darks
Go back in with your darks to reinforce contrast and bring back any shadows that may have faded.
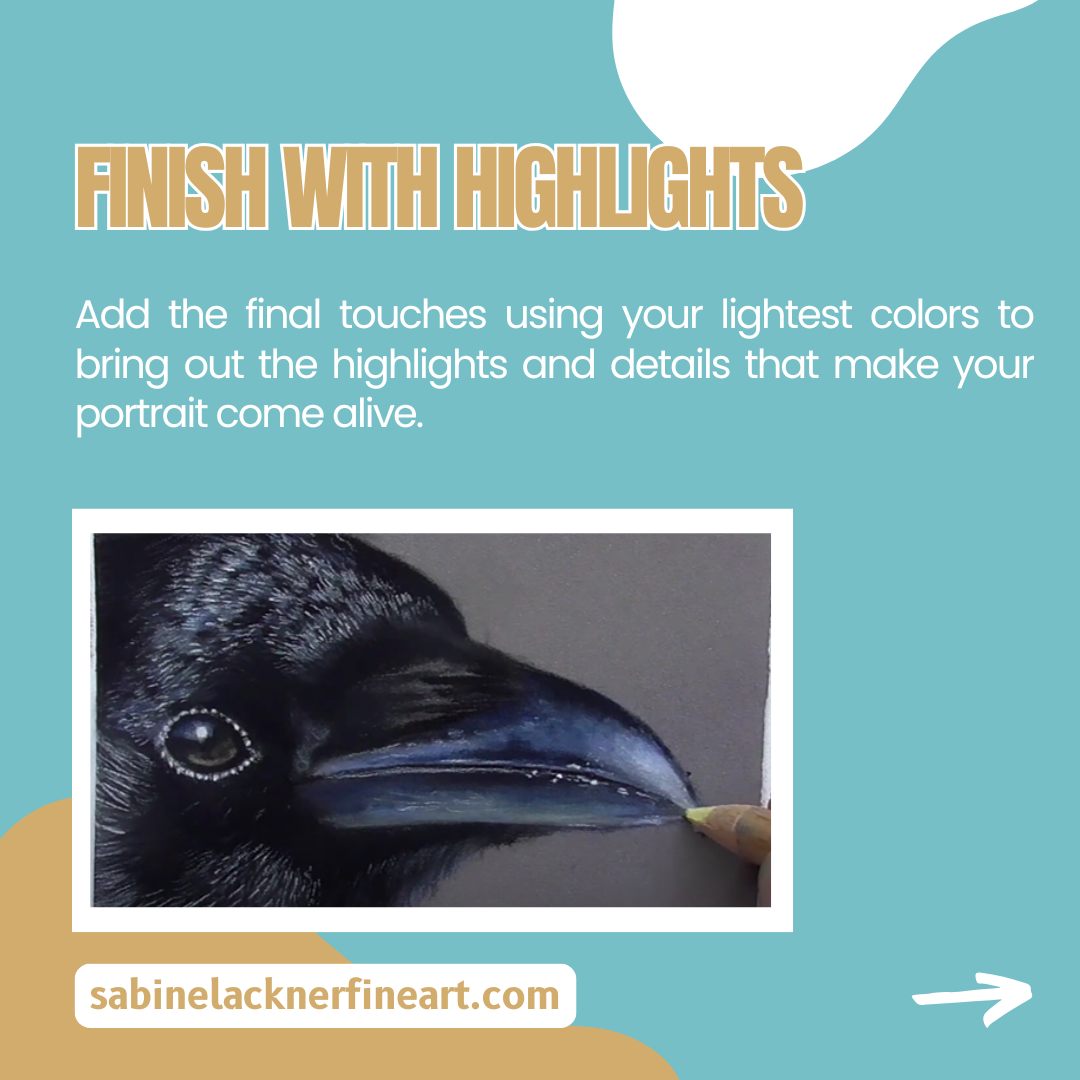
5. Finish with Highlights
Add the final touches using your lightest colors to bring out the highlights and details that make your portrait come alive.

Want to start drawing realistic animals today? Click here!

Do you want to learn how to draw realistic animal eyes? Click here!

Learn about color theory, color temperature, color harmony, hues, shades, tints and tones, etc.! Click here!
If you like this kind of topics, don’t forget to follow me on my Youtube channel
or
if you want to learn how to draw realistic animal portraits, join the Animal Artclub Waitlist!


