
Weekly Art Tip – 7 Tips for Photographing Your Pastel Artwork Professionally
7 TIPS FOR PHOTOGRAPHING YOUR PASTEL ARTWORK PROFESSIONALLY


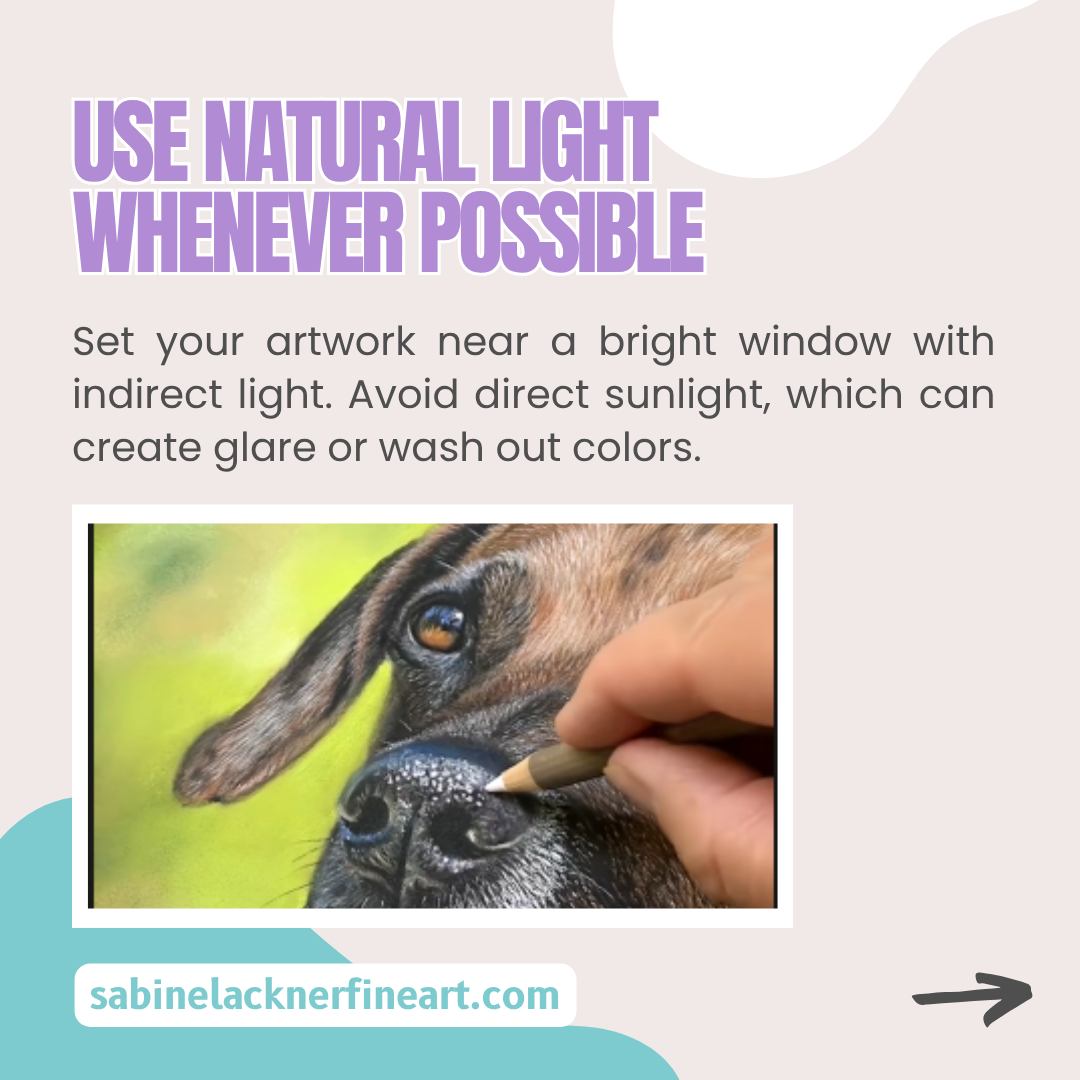
1. Use Natural Light Whenever Possible
Set your artwork near a bright window with indirect light. Avoid direct sunlight, which can create glare or wash out colors.
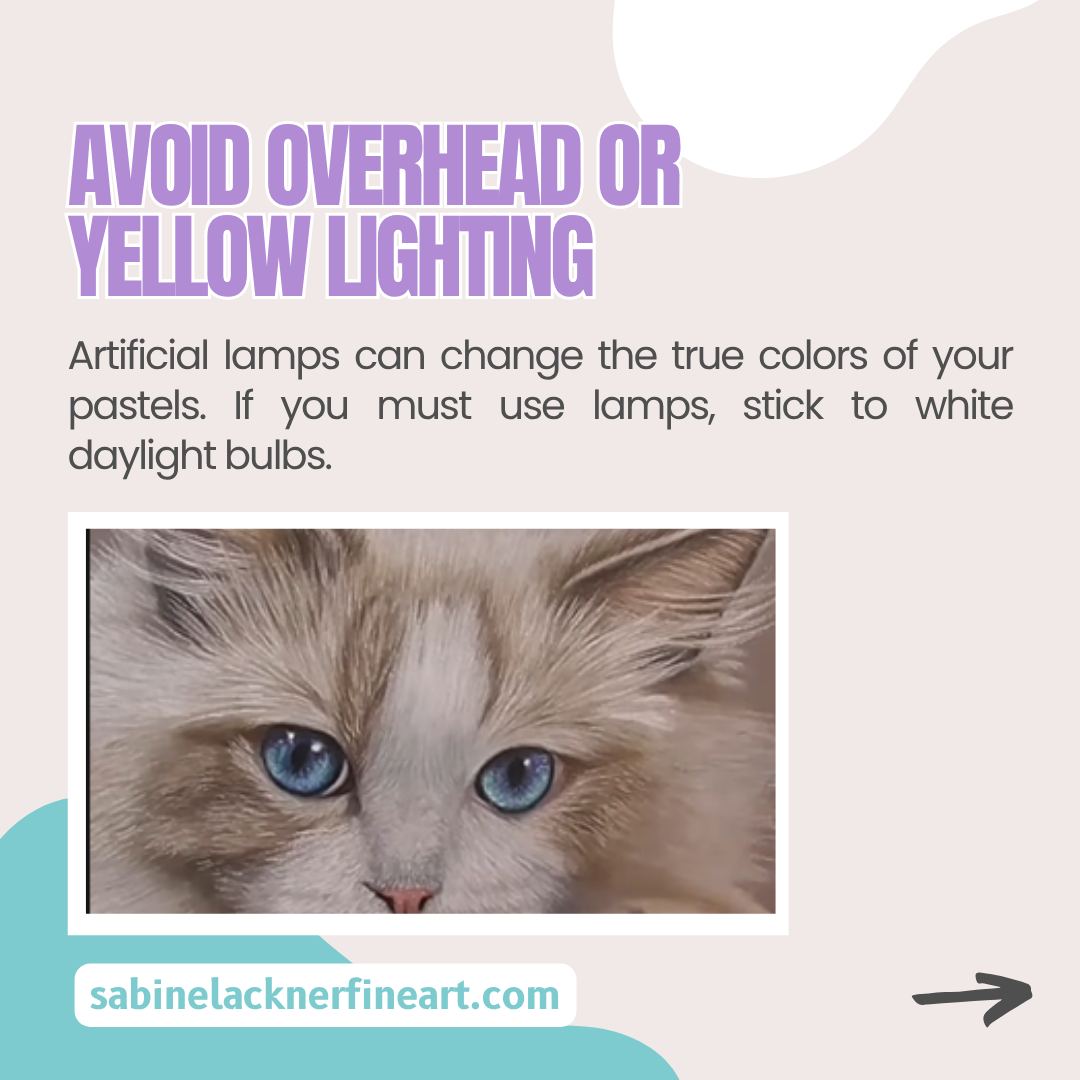
2. Avoid Overhead or Yellow Lighting
Artificial lamps can change the true colors of your pastels. If you must use lamps, stick to white daylight bulbs.
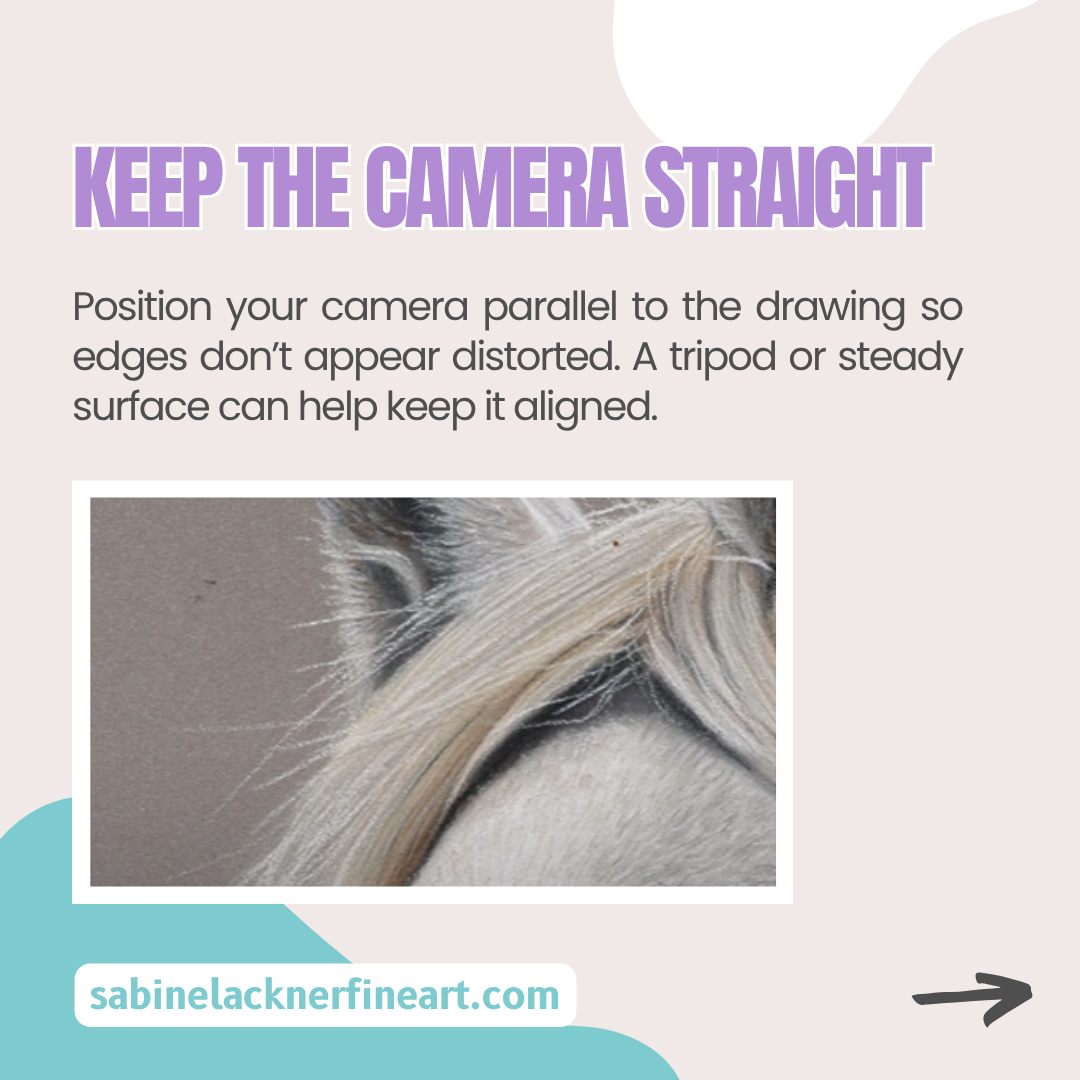
3. Keep the Camera Straight
Position your camera parallel to the drawing so edges don’t appear distorted. A tripod or steady surface can help keep it aligned.
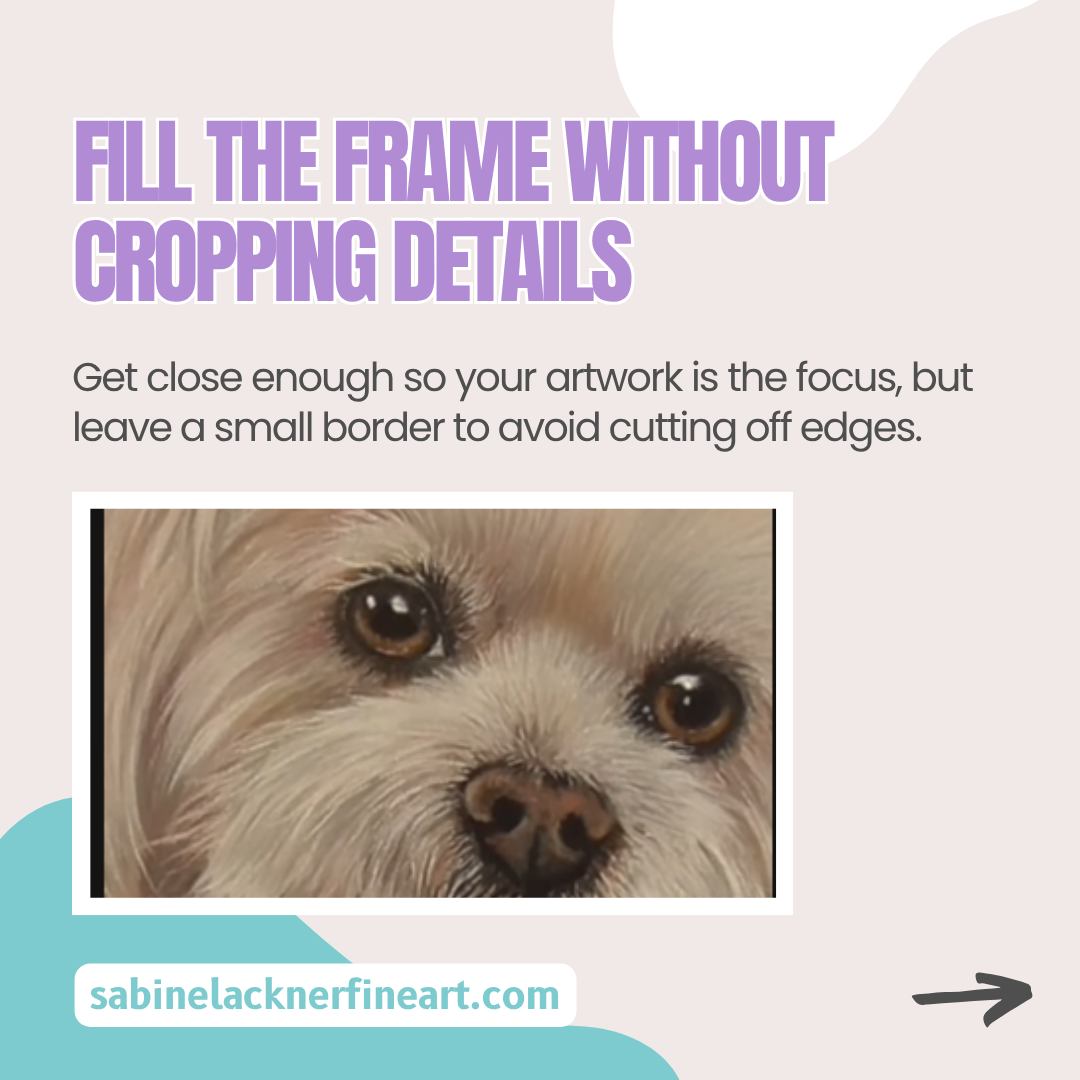
4. Fill the Frame Without Cropping Details
Get close enough so your artwork is the focus, but leave a small border to avoid cutting off edges.
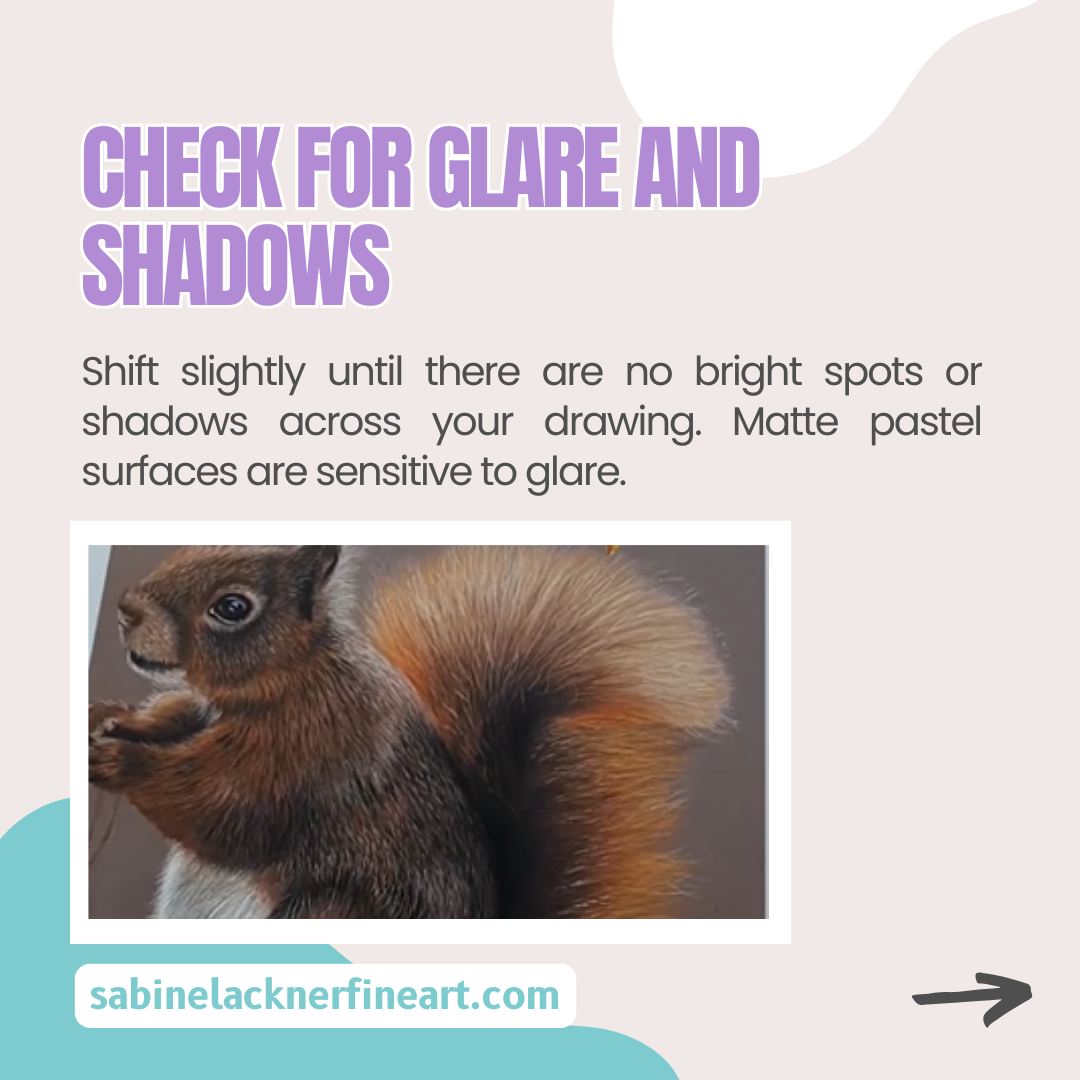
5. Check for Glare and Shadows
Shift slightly until there are no bright spots or shadows across your drawing. Matte pastel surfaces are sensitive to glare.
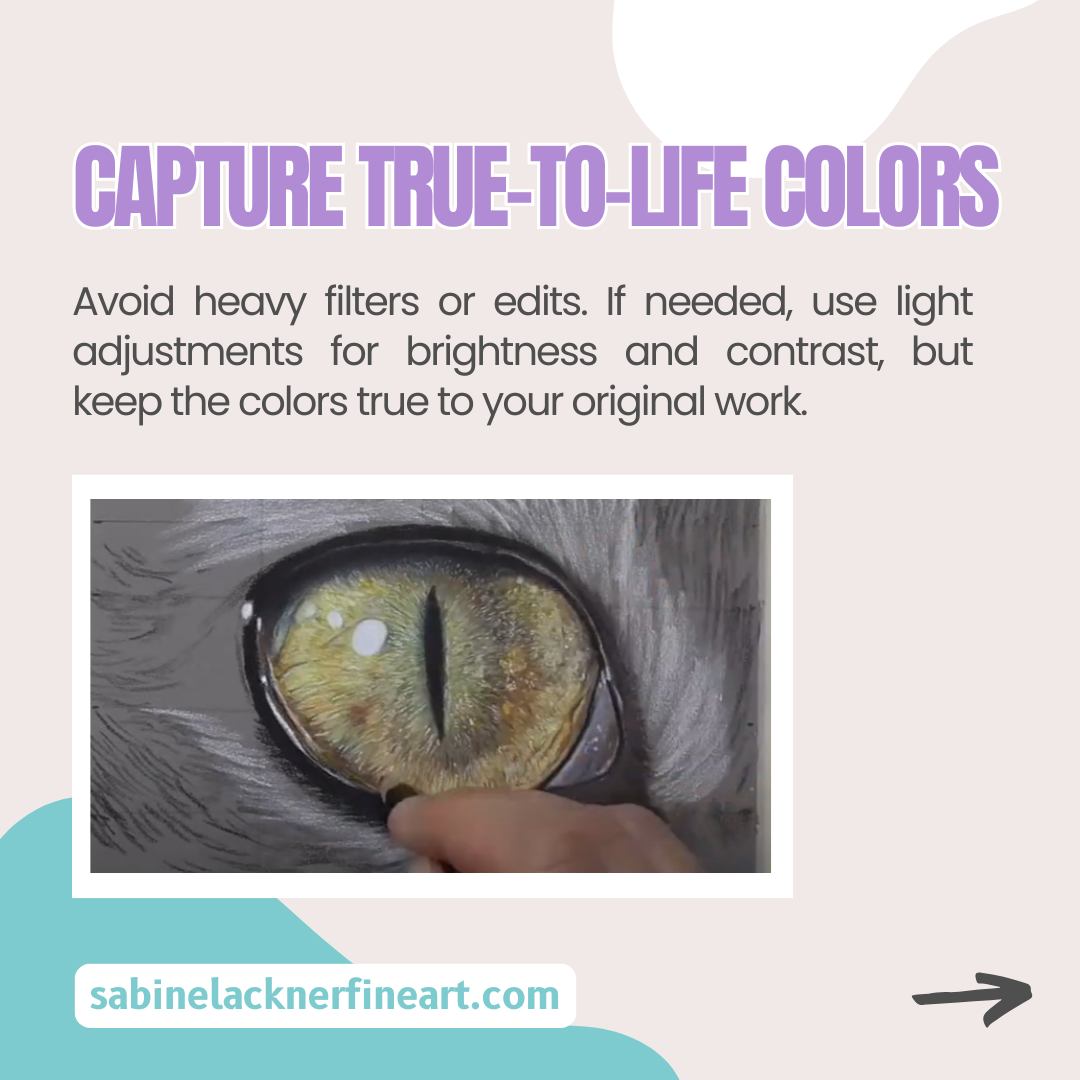
6. Capture True-to-Life Colors
Avoid heavy filters or edits. If needed, use light adjustments for brightness and contrast, but keep the colors true to your original work.
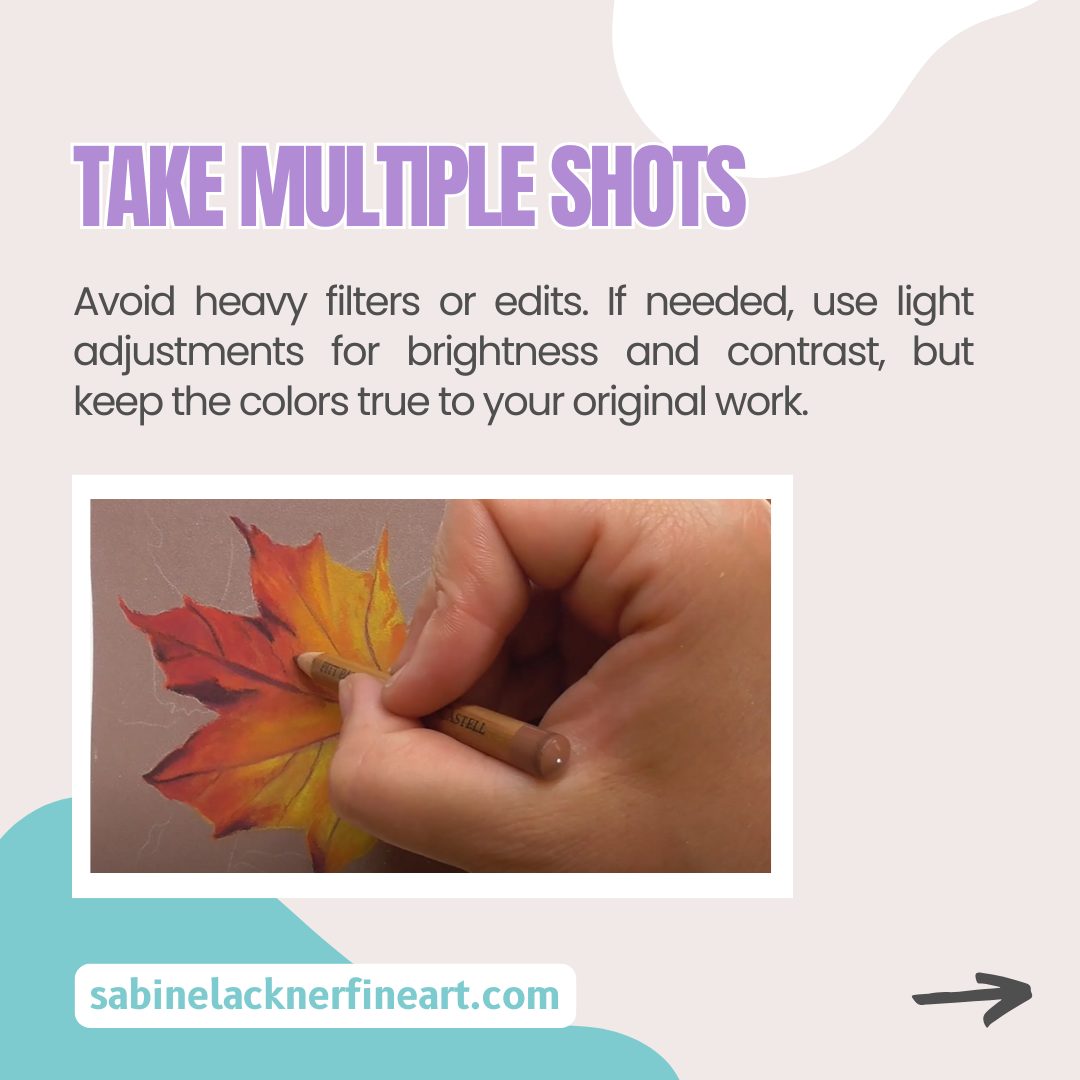
7. Take Multiple Shots
Avoid heavy filters or edits. If needed, use light adjustments for brightness and contrast, but keep the colors true to your original work.

Want to start drawing realistic animals today? Click here!

Do you want to learn how to draw realistic animal eyes? Click here!

Learn about color theory, color temperature, color harmony, hues, shades, tints and tones, etc.! Click here!
If you like this kind of topics, don’t forget to follow me on my Youtube channel
or
if you want to learn how to draw realistic animal portraits, join the Animal Artclub Waitlist!


